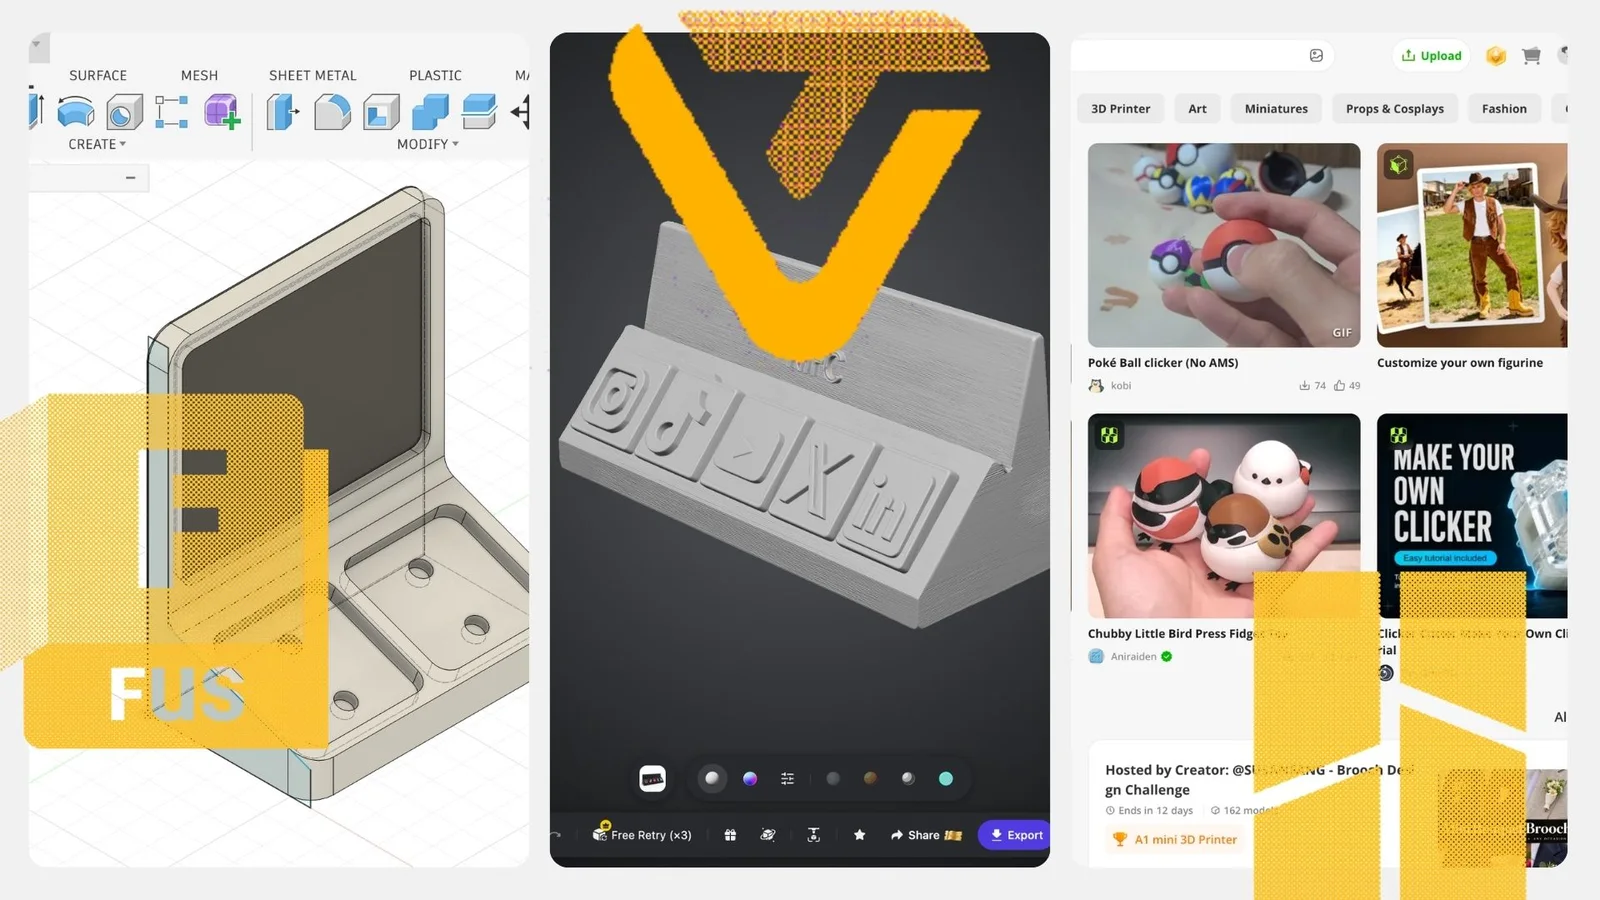
You own a 3D printer. You have printed the benchy, the calibration cubes and a few things from the model libraries. Then a real problem turned up: a bracket that does not exist, a holder for something oddly shaped, a stand for the counter. This article is about the step between the problem and the file your slicer opens. There are three ways to get there, and the best results use all three.
The short answer
A 3D-printable design comes from one of three places: someone else already made it, an AI sketched it for you, or you modelled it yourself. Each has a job. Used together they take you from a vague idea to a part you can send to the printer.
Find it
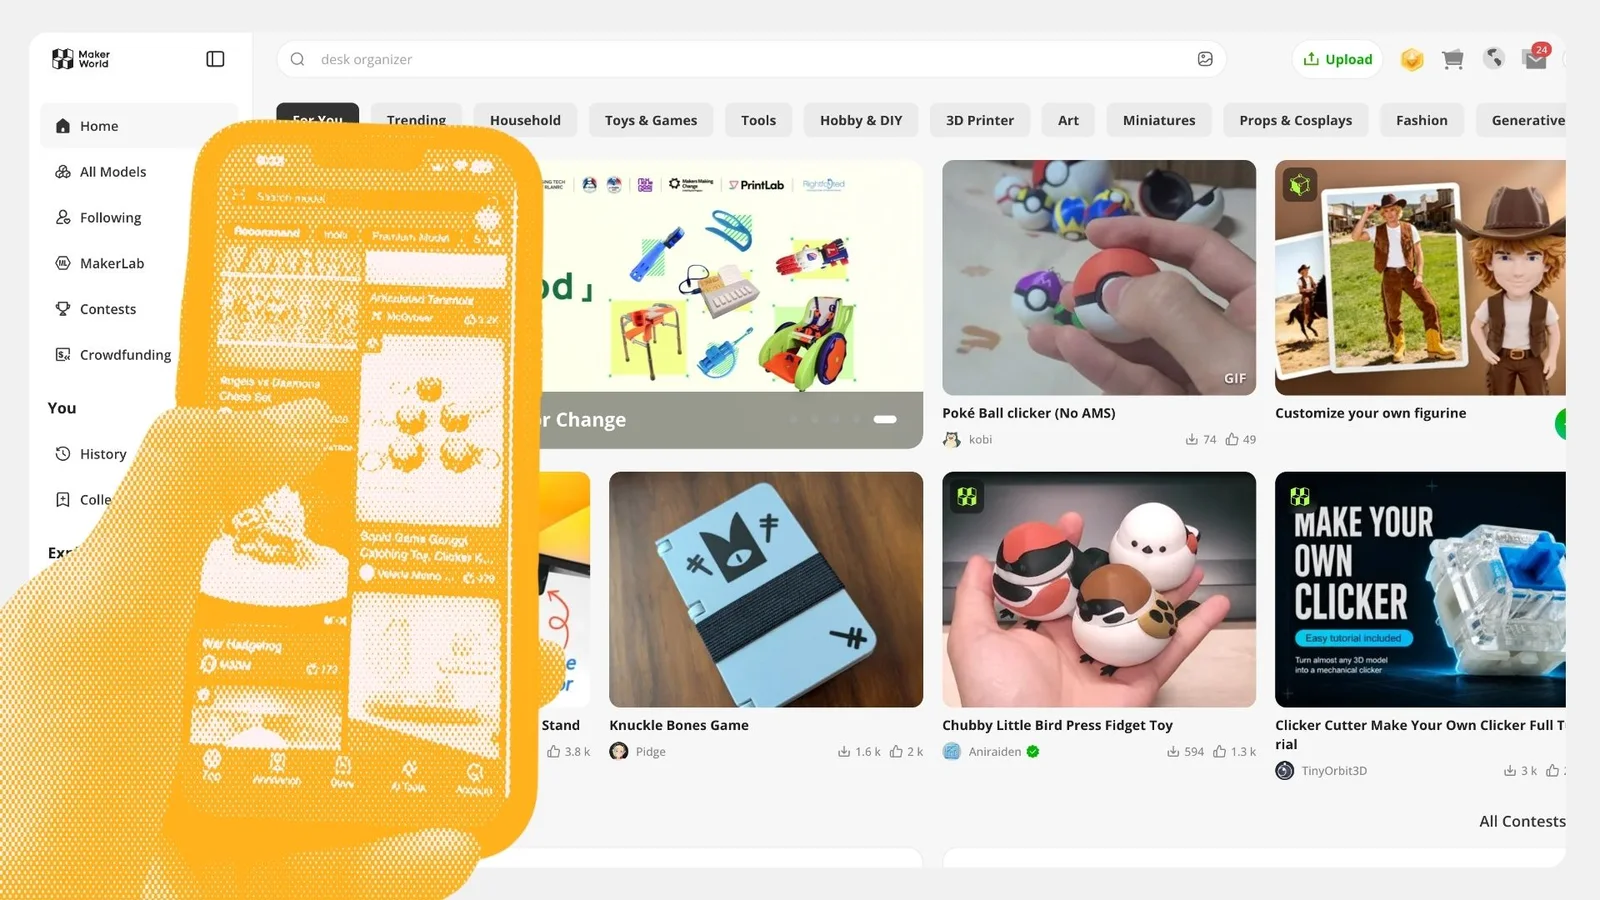
Community platforms hold millions of free models, many with customisers. Print from your phone. Use what exists as a starting point.
Brainstorm it
Describe it, let an image model draw options, then turn the picture you like into a 3D mesh. Good for organic shapes and for seeing ideas fast.
Model it
CAD gives you exact dimensions, editable features and variables. This is where a finished design lives. It is how every Tap To Connect stand is made.
How the three fit together
They are not competing options. A good run through a real problem touches each of them in turn, then loops back.
Look at what exists
Search the community platforms. Someone may have solved your exact problem, or something close enough to adapt. Even when nothing fits, you leave with a clearer picture of what the part should be.
Brainstorm the shape
Describe the object to an image model and generate a spread of versions. Pick the direction. If the shape is organic, an image-to-3D model can take it straight to a mesh.
Model it deterministically
Once you are set on a design, rebuild it in CAD with real dimensions. Parametric variables make the next revision a number change, not a redraw.
Slice, print, iterate
Export to your slicer, print, test against the actual problem, adjust the variables, print again. Expect three or four rounds. That is the method, not a failure of it.
Route 1: community platforms
Start with what the community has already solved
 MakerWorldBambu LabBambu's library. Print profiles, customisers and one-tap send from the Bambu Handy app.makerworld.com
 PrintablesPrusaPrusa's library with strong search, contests and a customiser on many models.printables.com
 Creality CloudCreality's library and app. Slice in the cloud and send to a Creality printer.crealitycloud.com
 ThangsSearches across libraries by shape, not only by name. Good for "is there one like this".thangs.com
These are libraries of models uploaded by other people in the 3D printing community, most of them free. For a common problem, a phone stand, a cable clip, a drawer divider, the odds are high that a good version already exists with a print profile attached.
- Customisers. Many models let you change dimensions inside the platform before you download. Type your drawer width and get a divider that fits, no CAD needed.
- Print from your phone. The popular printers ship with a companion app that connects to these libraries. Find a model on the bus, send it to the printer, and it is waiting when you get home.
- Inspiration. Even when nothing fits, the search shows you how others approached the same problem. Wall thickness, where they added a chamfer, how they handled overhangs.
Allin Studio began with a search like this. The static NFC display stands on MakerWorld were the spark. They showed the idea worked and showed what was missing: a modular tile system, a face plate for branding, and a build that a small business could actually order. That gap became the product.
Where it stops: the moment your problem has a dimension nobody else has, a shape nobody else needs, or a brand on it. Then you move to the next route.
Route 2: brainstorm with AI
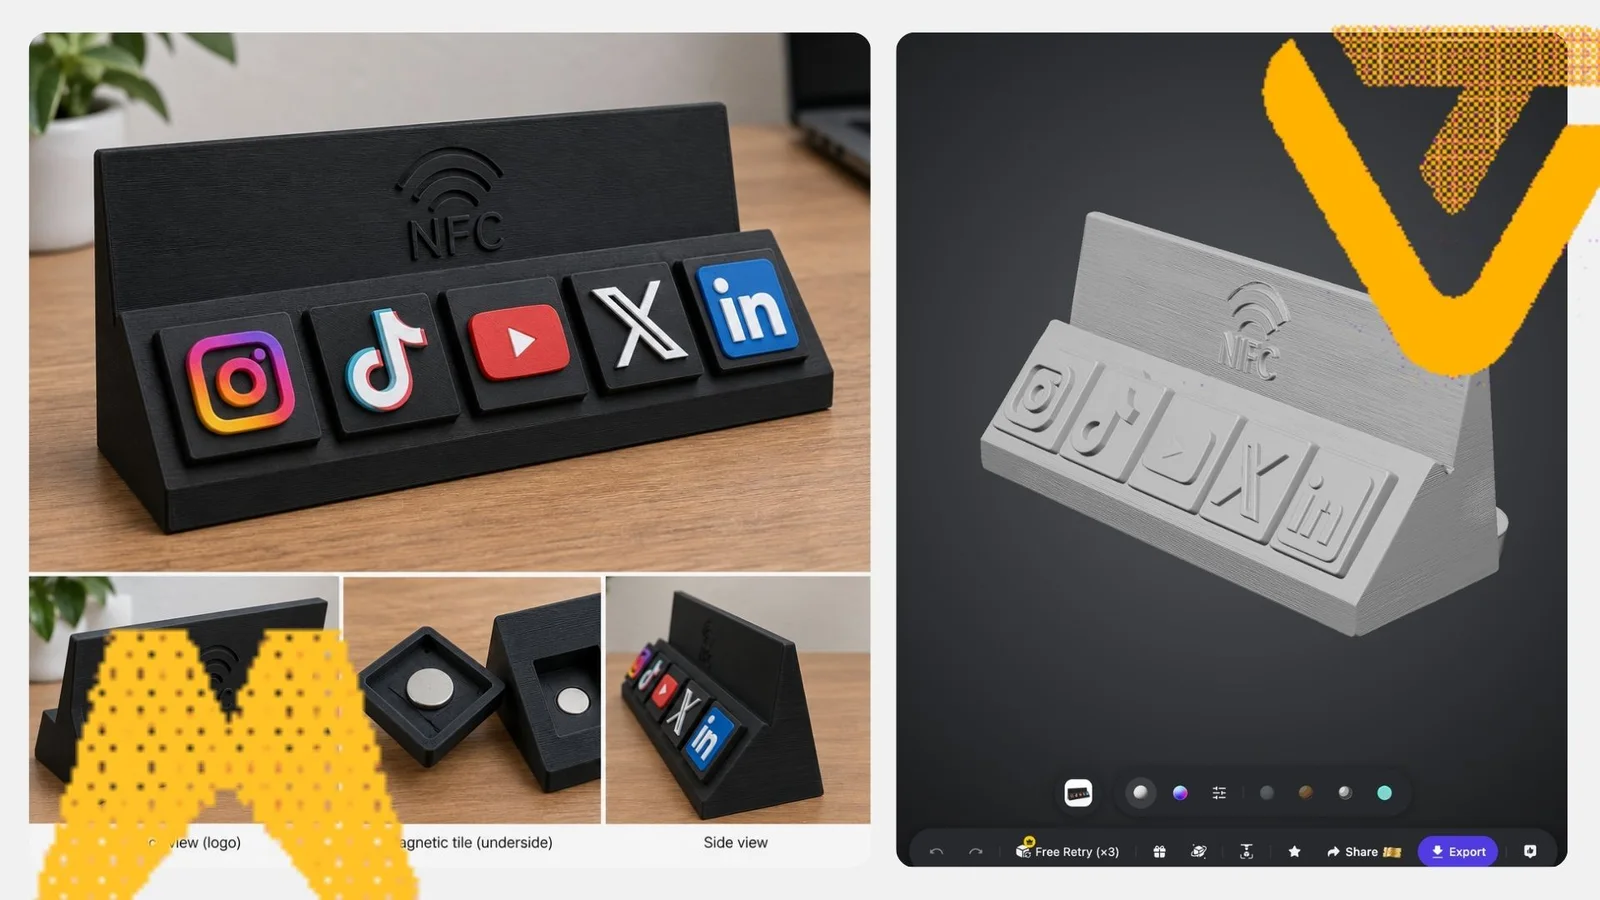
Generate a spread of ideas, then turn one into a mesh
This route has two halves, and they use different tools.
01Describe it, get images
Write what you want in plain words and let an image model draw it several ways on a flat surface. This is cheap, fast and the best way to see ten directions in a minute.
02Pick an image, get a 3D model
Feed the image you like into an image-to-3D model. It returns a mesh you can export in a format your slicer reads.
 Magnificimage generationOne place for the current image models. Pick Nano Banana Pro or GPT-2.5 per prompt and compare.magnific.com
 Tripoimage to 3DTurns one image, or a six-view sheet, into a manifold mesh. Exports parts for the slicer.tripo3d.ai
For images we use Magnific. It fronts most of the current image models in one place, alongside video and audio models for other work. The strongest image models at the time of writing are Google's Nano Banana Pro and OpenAI's GPT-2.5, and you pick the model per prompt, so you can run the same description through both and compare.
Describe the object, then tell the model it is producing an engineering reference from six perspectives. A flat picture from one angle gives the 3D model almost nothing to work with. Six views tell it your intent.
For the second half we use Tripo. It generates manifold parts, which means watertight meshes with no holes or self-intersections, so the slicer accepts them without repair. Export in the format your slicer likes and open it directly for post-processing.
Two caveats before you rely on it
- Edges are soft. These are diffusion models. They do not leave the crisp, planar edges a CAD tool gives you. Flat faces come out slightly wavy and corners slightly rounded. Fine for an organic shape, wrong for anything that has to mate with another part.
- Colour needs parts. If you plan to paint parts of the model in different filament colours in the slicer, a single mesh will not split cleanly. Generate the model in parts instead. Tripo can output separate parts, and exporting as OBJ keeps them as distinct objects, so the slicer sees each one and you assign a filament to each.
Very easy, then. But it may not satisfy your design intent, and you cannot edit a mesh the way you edit a sketch. Which brings us to the third route.
Route 3: CAD, or computer-aided design
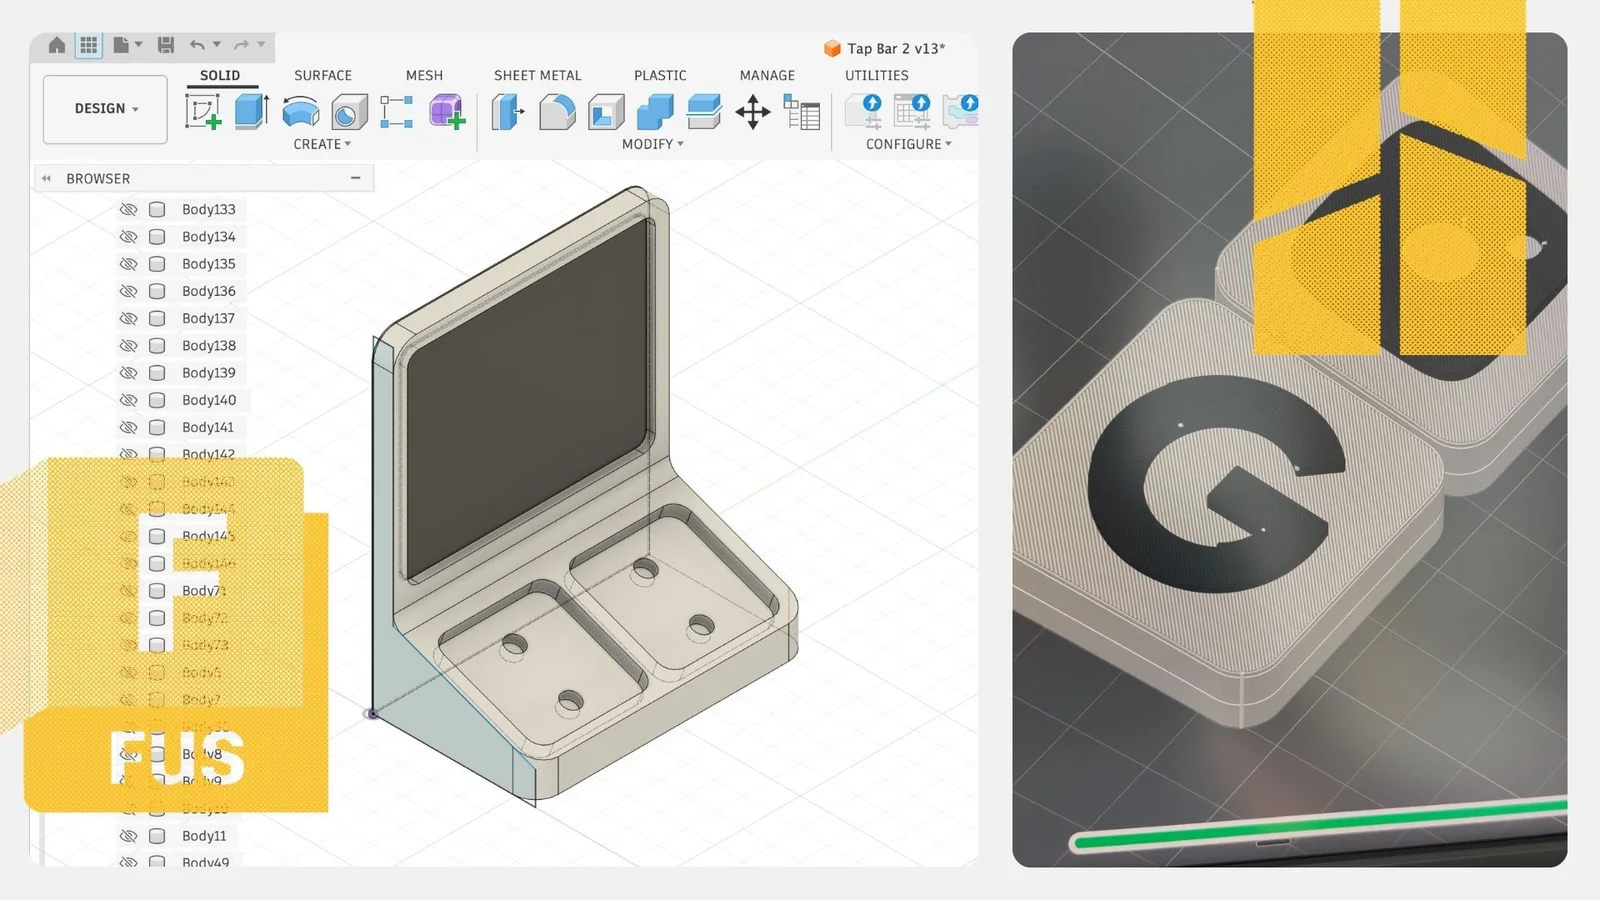
When you are set on a design, model it properly
 TinkerCADbeginnerCombine and subtract shapes in the browser. Free, and enough for most hobby parts.tinkercad.com
 OnshapeFull parametric CAD in the browser with a free plan for public documents.onshape.com
 Autodesk Fusionwhat we useSketch-driven, parametric, with a free personal licence. Every Tap To Connect stand starts here.autodesk.com
 BlenderorganicFree sculpting and mesh editing. The tool for organic shapes and for fixing AI output.blender.org
CAD is where you stop describing and start specifying. Every dimension is a number you chose. Every feature can be edited later without redrawing the rest.
- TinkerCAD is the beginner class. Solid modelling by combining and subtracting simple shapes, in the browser, free. It is more capable than it looks and will cover most geometry a hobbyist needs.
- Onshape or Autodesk Fusion is where we would point you next. Sketch-based, deterministic control over every part. These are also parametric: you can assign dimensions as variables, so a stand designed for a 40 mm tile becomes a stand for a 45 mm tile by changing one number.
- Blender is the free tool for organic shapes, and the one to reach for if you want to edit a mesh that came out of the AI route, or to sculpt an organic form from scratch.
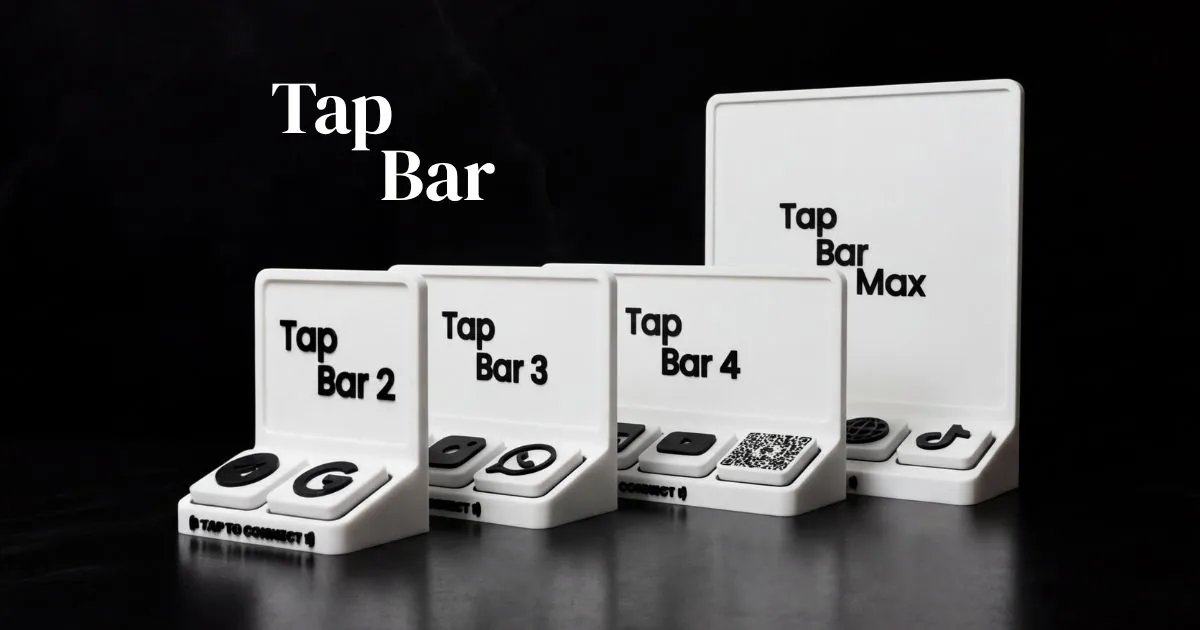
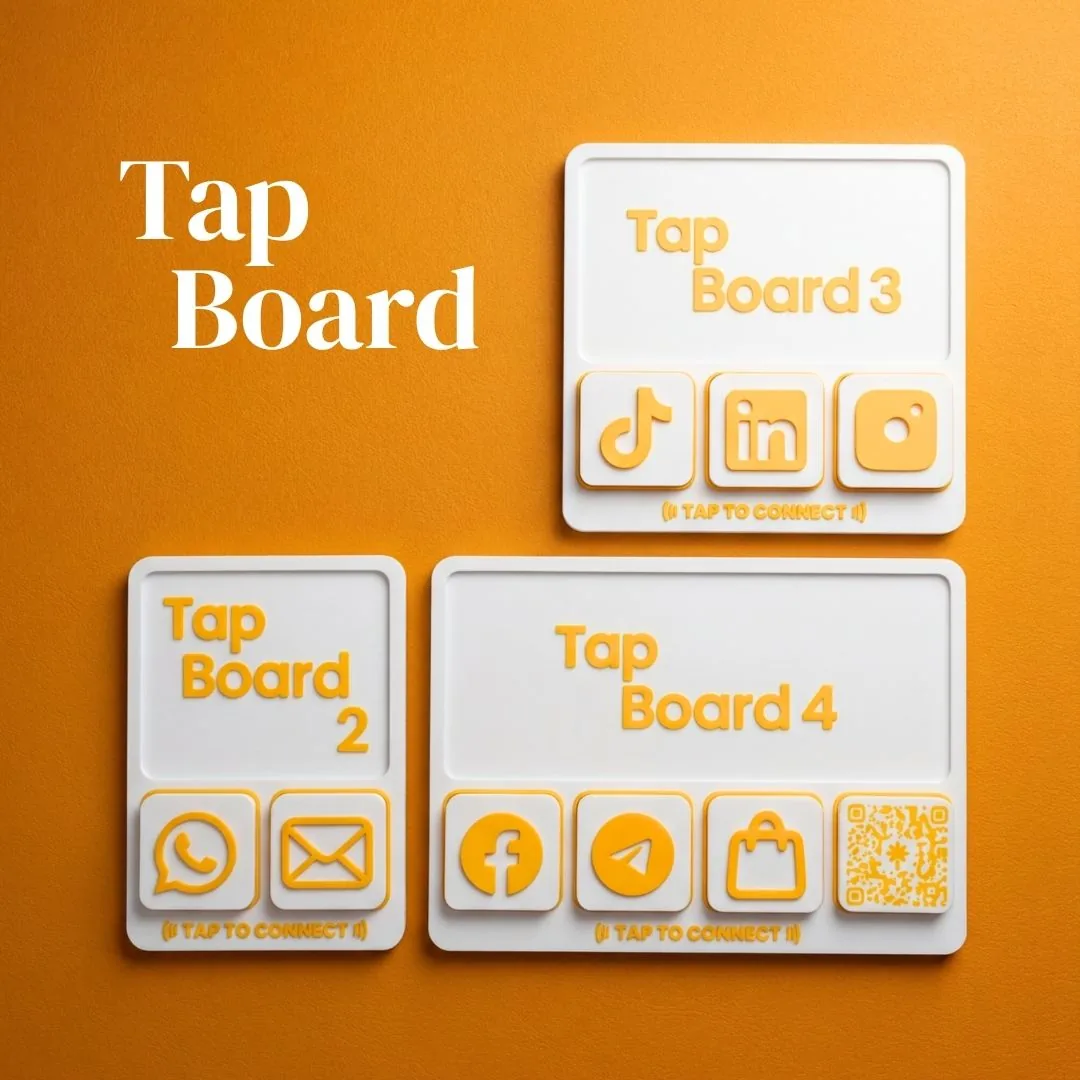
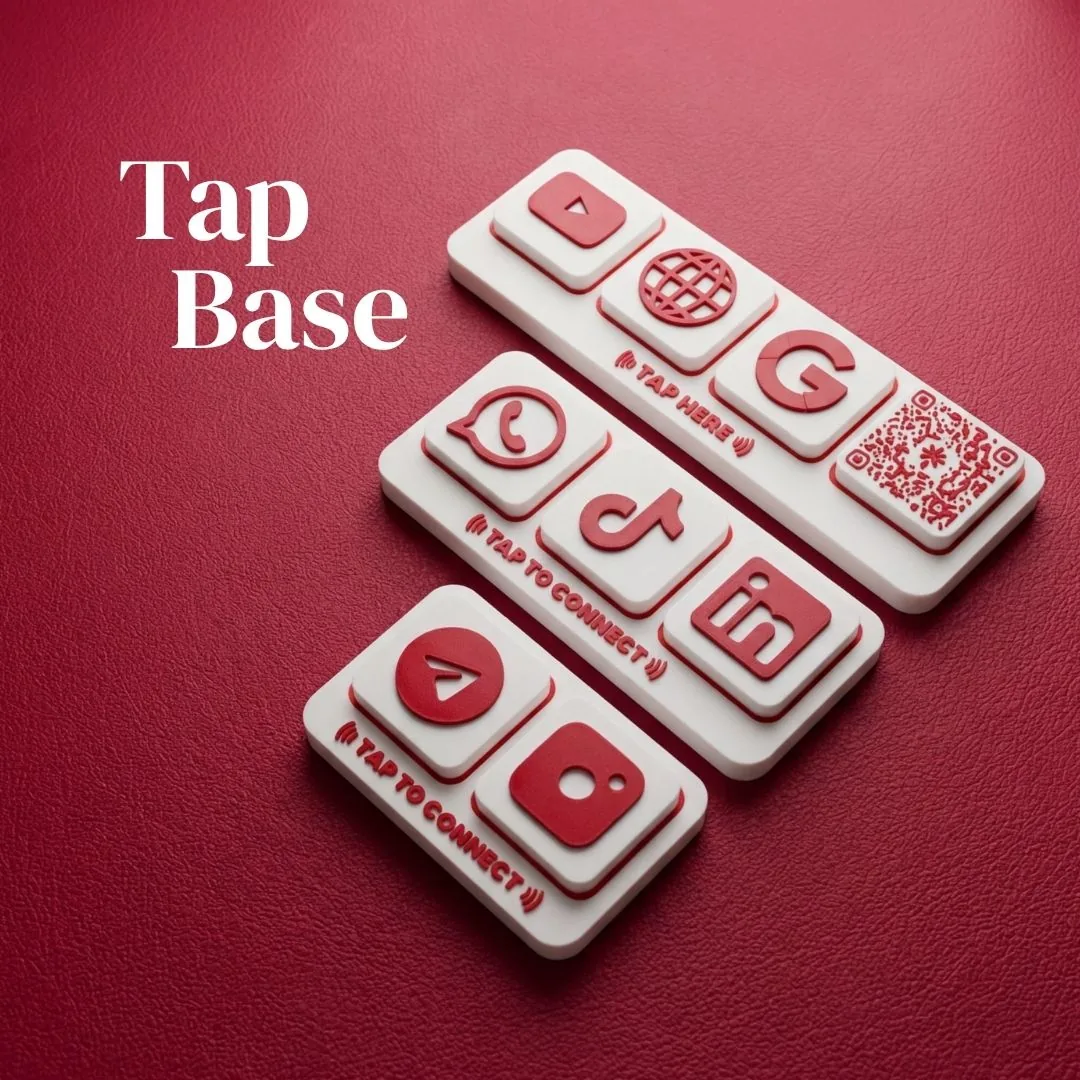
Every base shape in the Tap Bar, Tap Board and Tap Base ranges was sketched and modelled deterministically in Autodesk Fusion, with the tile pitch, plate thickness and text height as variables. The models export straight into Bambu Studio, our slicer, where the colours and print profiles are set. The 3D configurator on this site renders the same geometry.
Which route, when
| Route | Speed | Control | Best for | Cost |
|---|---|---|---|---|
| Community platforms | ●●●● | ●●●● | Common problems, customisable models, inspiration | Free |
| AI brainstorming | ●●●● | ●●●● | Seeing many directions fast, organic shapes | Free tier, paid beyond a limit |
| CAD | ●●●● | ●●●● | Exact fits, parts that mate, anything you will revise | Free for hobby use |
A rule that holds up: the community route answers "has this been done", the AI route answers "what could this look like", and CAD answers "make it exactly this". Skip the first and you rebuild things that exist. Skip the second and you commit to the first idea you had. Skip the third and you ship a shape you cannot adjust.
Iterate across the whole stack
To arrive at the NFC stands we sell, we touched every one of these tools and adopted an experimental mindset. Look for inspiration on the platforms and see what is out there. Use AI to brainstorm. Then, once the design is set, build it directly in CAD, because that is the only version you can keep improving.
Where AI output goes straight to the printer is organic shapes. If you need to edit an organic shape, or model one from scratch, Blender is the free tool for it.
On cost: every tool here can be used for free. The only paid step is AI generation past the free limits, for both the image models and the 3D model.

The First Layer
Our hands-on class runs this whole loop in one session, with someone to ask when a print goes wrong.
- A Bambu Lab A1 Mini each
- Slicing with settings you chose on purpose
- A part designed from scratch and printed before you leave
People also ask
What is the easiest way to design something for 3D printing?
Can AI generate a 3D printable model?
How do I print an AI-generated model in more than one colour?
TinkerCAD or Fusion 360 for a beginner?
Are these 3D design tools free?
The stands this process produced
Three product lines. One tap to connect your customers.