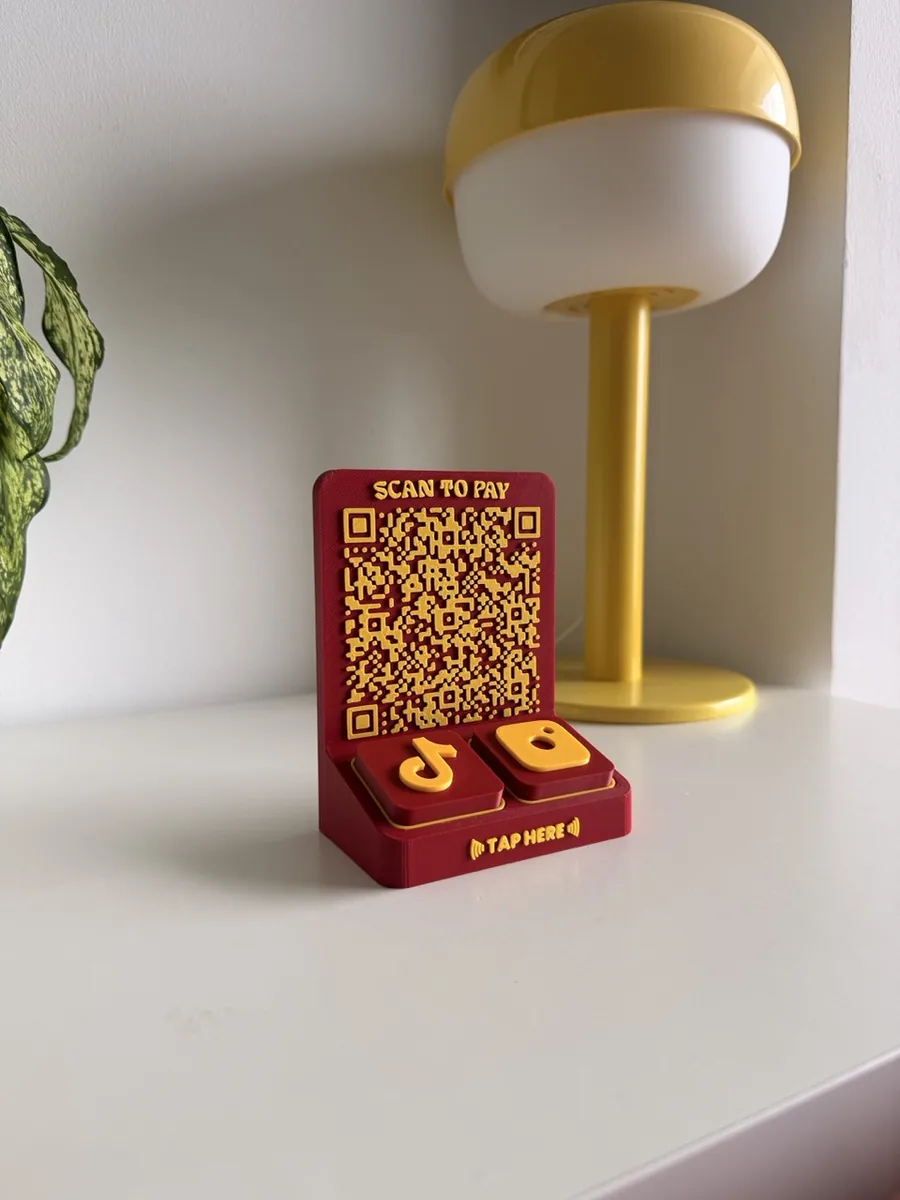
We've just added our first Bambu Lab A1 series machines to our decentralised, home-based 3D printing network here in Singapore — the same network that makes the Tap To Connect stands, tiles and namecards we ship. New printers mean a new print list, so this felt like a good moment to show you what's on ours.
An open-frame printer has different problems from an enclosed one. Nothing catches the purge waste. The cables flap about. There's no door to clip your scraper to. The good news is that the community has already solved every one of these, for free. Here are the 9 we're printing first, roughly in the order we're printing them.
Every one is a free model on MakerWorld. Full credit to the makers; each links back to their model and profile.
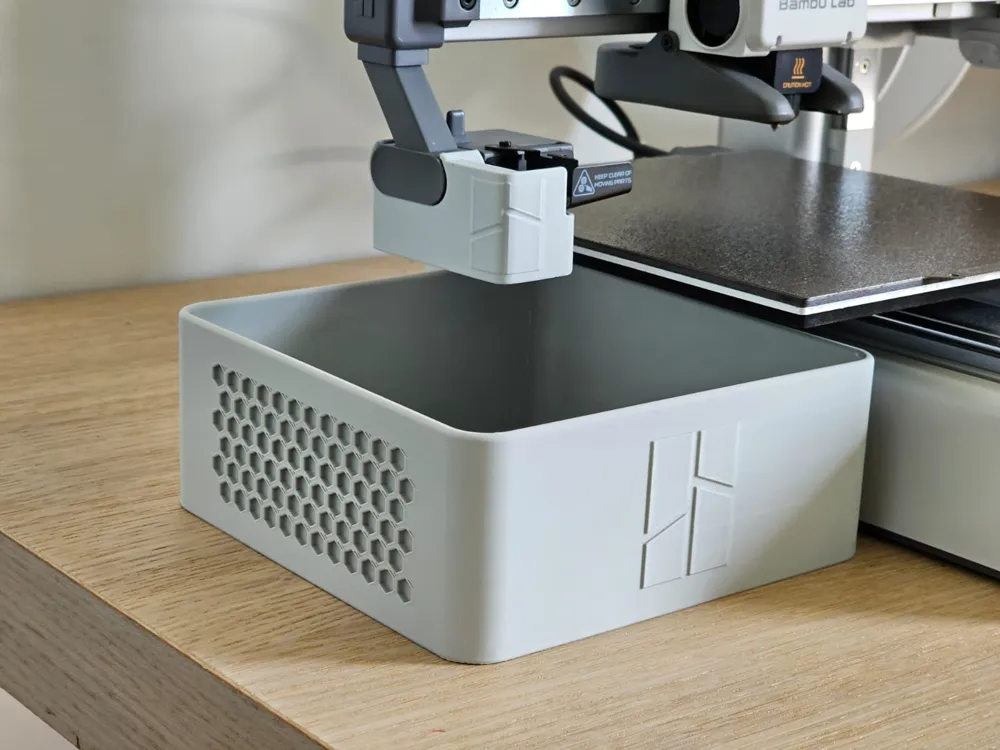
Poop Bucket + Deflector
The first thing you notice about an open-frame A1 is that every colour change fires a little filament purge onto whatever is behind the printer. The deflector aims them, the bucket catches them. Print this before anything else, or you'll be picking poops off the floor for a week before you give in and print it anyway.
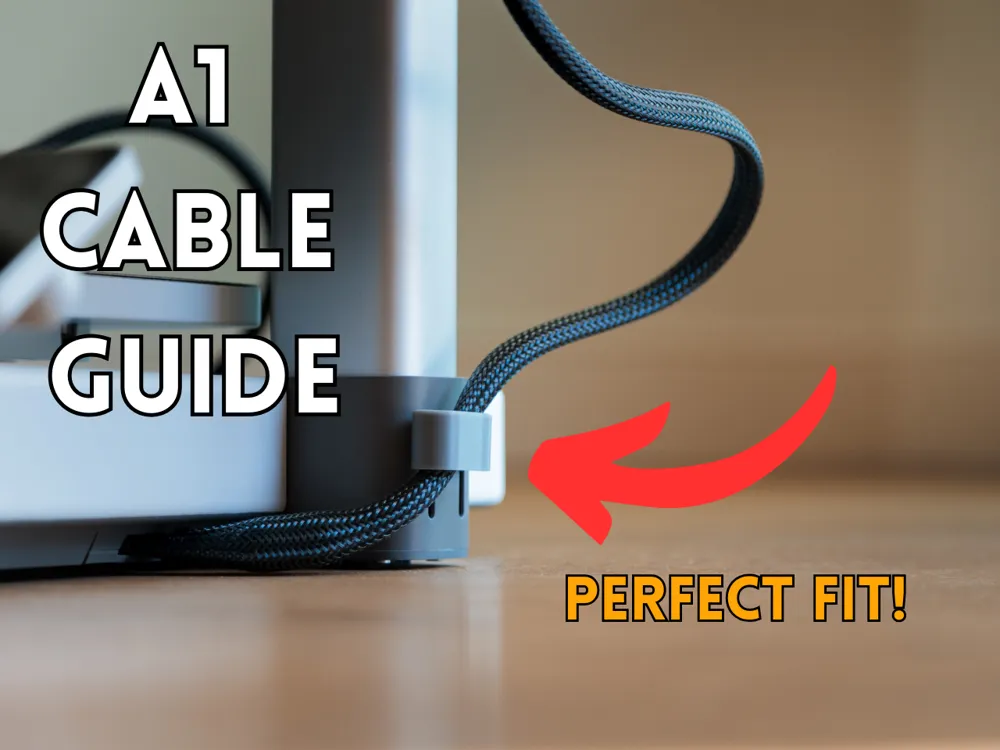
A1 Cable Guide
The thick braided cable leaves the base of the A1 and then goes wherever it likes, usually straight across the desk. This little guide clips on and gives it one clean exit path. Twenty-five minutes, and the front of the machine stops looking like a science project.
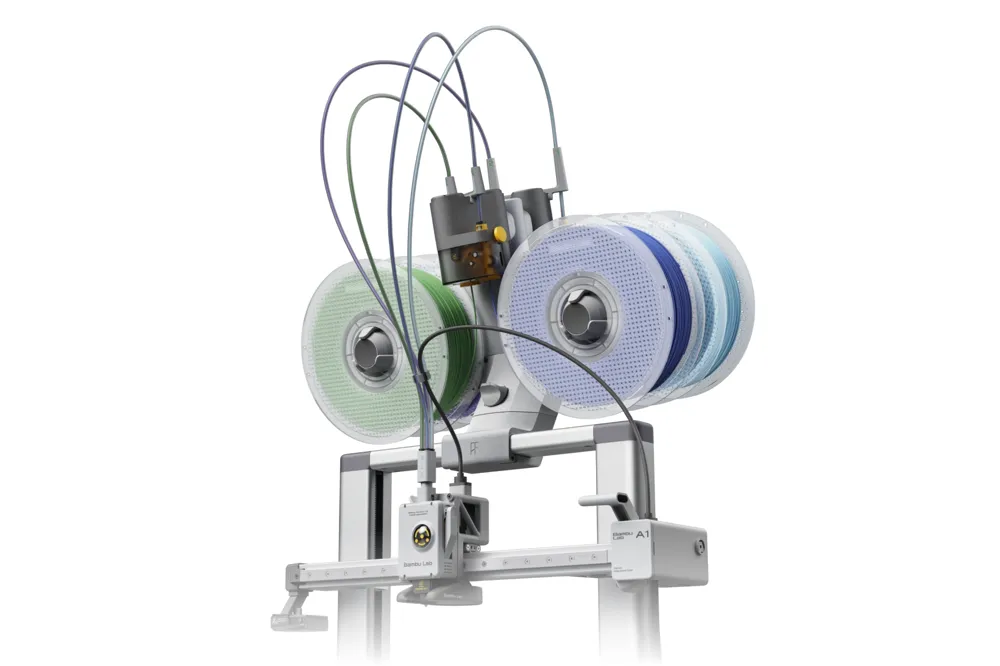
AMS Lite Top Mount
The AMS Lite ships sitting beside the printer, eating bench space that a small studio does not have. This lifts it directly above the machine, so the footprint becomes the printer and nothing else. It's the longest print on this list by some way, but it's from Bambu Lab themselves, it fits properly, and you only print it once.
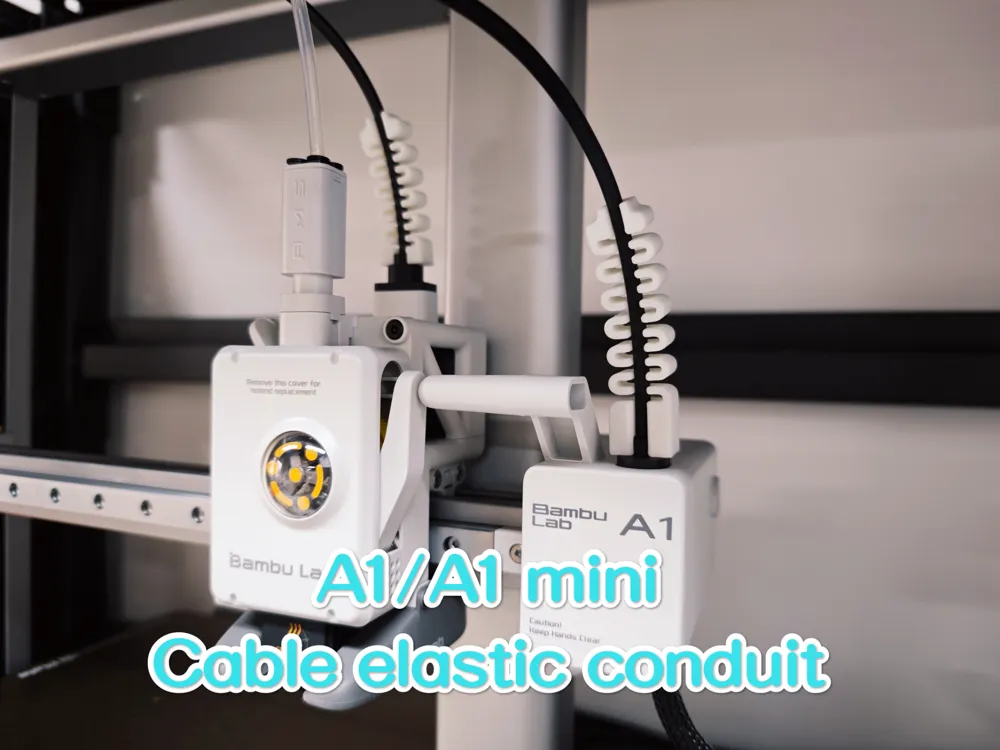
Cable Elastic Conduit
A printed spiral that wraps the toolhead cable — the one that moves on every single print. It flexes with the cable rather than fighting it, so the run bends the same way each time instead of slowly working itself into a kink. Fits both the A1 and the A1 mini.
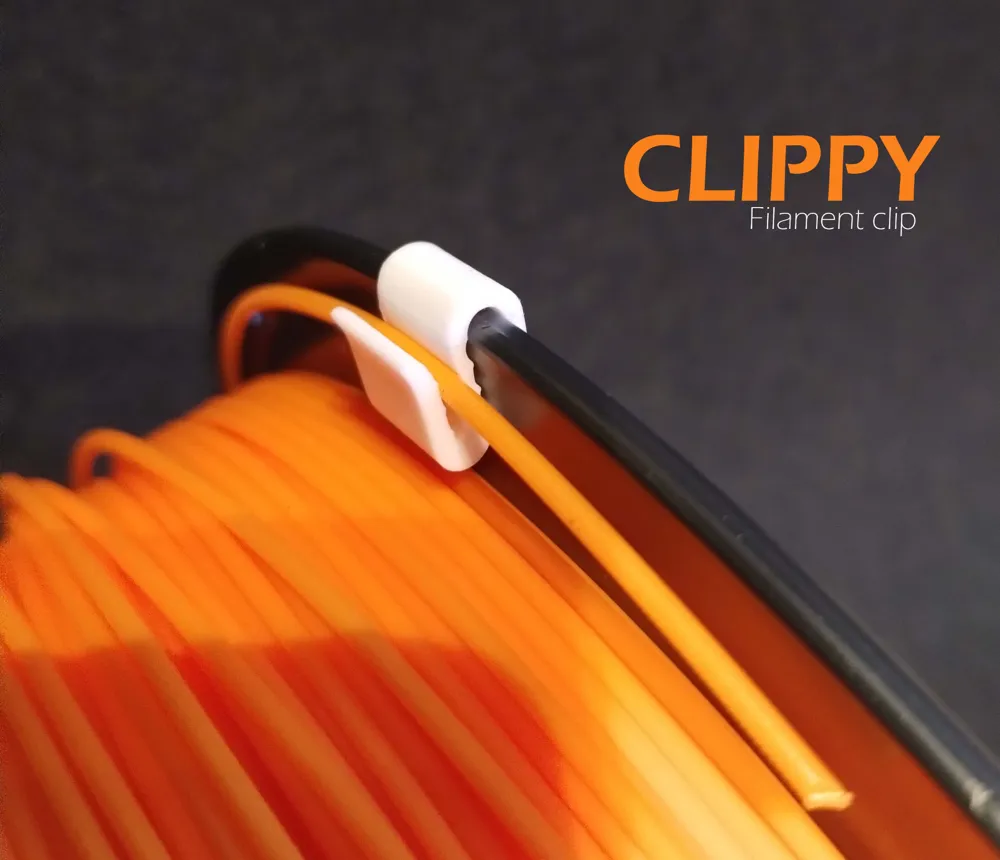
Clippy Filament Clip
Every spool you take off needs its loose end secured, or the filament unwinds inside the reel and tangles the next time you load it. Fourteen minutes gets you a batch of these. Print a dozen in one go and never lose an end again, which is a much bigger quality-of-life win than fourteen minutes suggests.
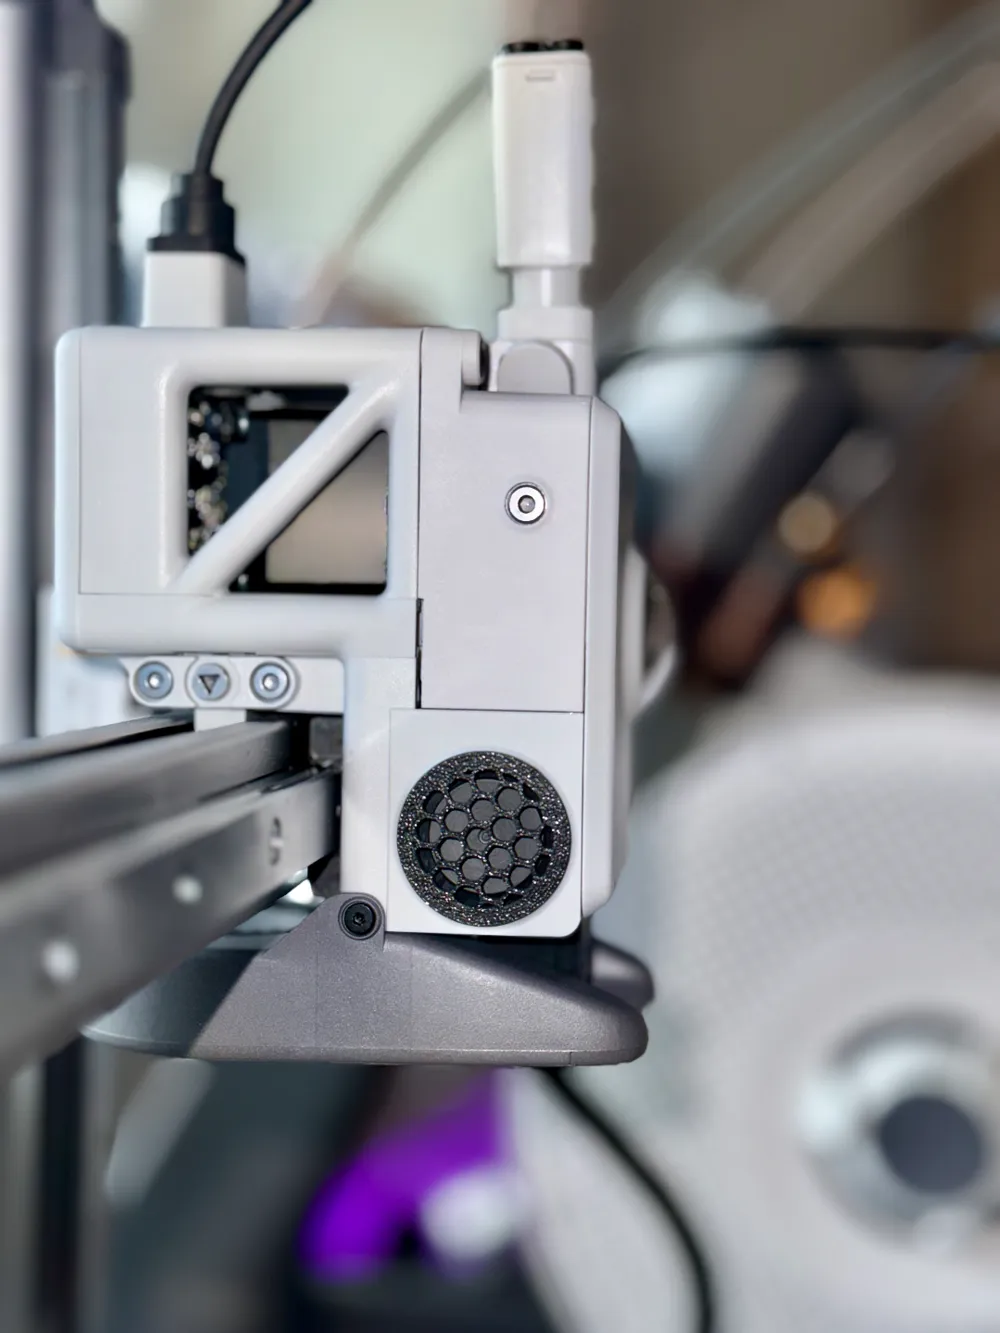
A1 / A1 Mini Fan Cover
A honeycomb grille over the toolhead fan. On an open-frame machine that fan is exposed to whatever is in the room, and a stray strand of filament finding its way into the blades is not a good day. Fourteen minutes to keep debris out without choking the airflow.
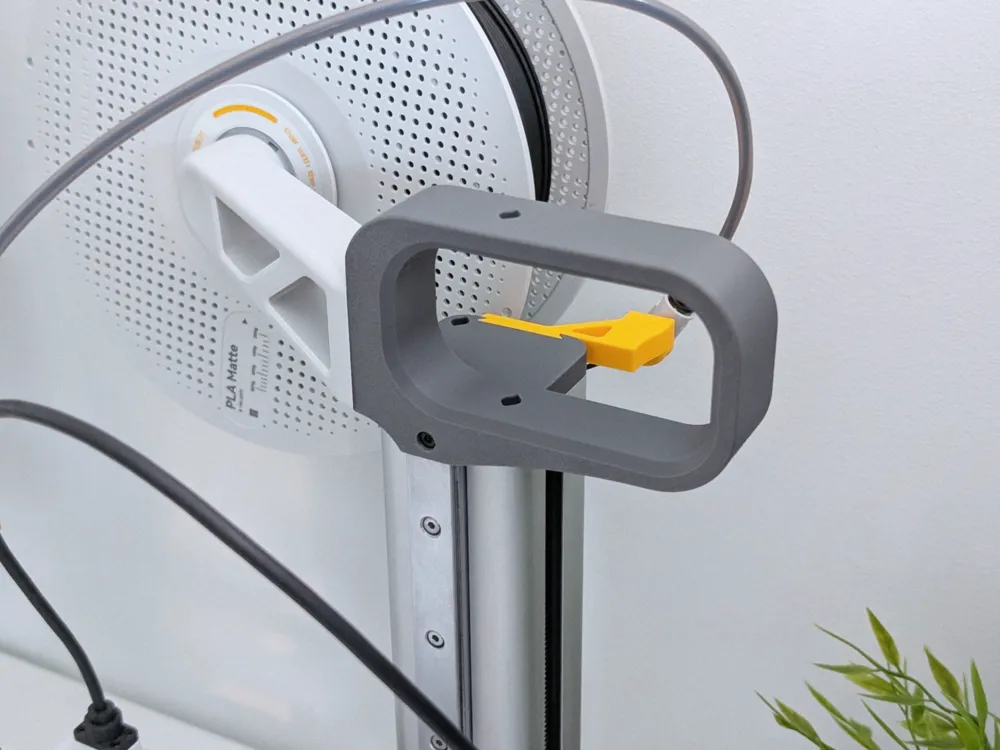
A1 Mini Handle
The A1 mini is genuinely portable, which you only appreciate once there's something to hold. This handle gives you a proper grip and keeps the original spool holder, so you don't trade one convenience for another. Worth it if your mini ever moves between a desk, a market stall and a car boot.
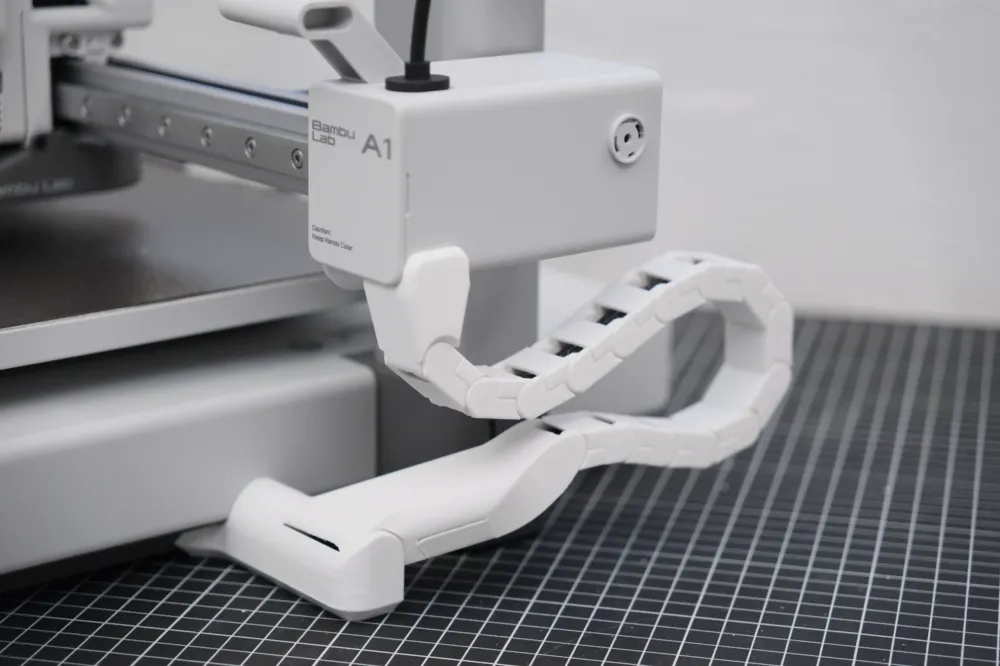
A1 Side Drag Chain
The proper fix rather than the quick one. Instead of letting the cable flex wherever it wants, an articulated chain carries it through the same controlled arc every time — which is what you want on a machine expected to run for years rather than weekends. The longest of the three cable jobs here, and the one that lasts.
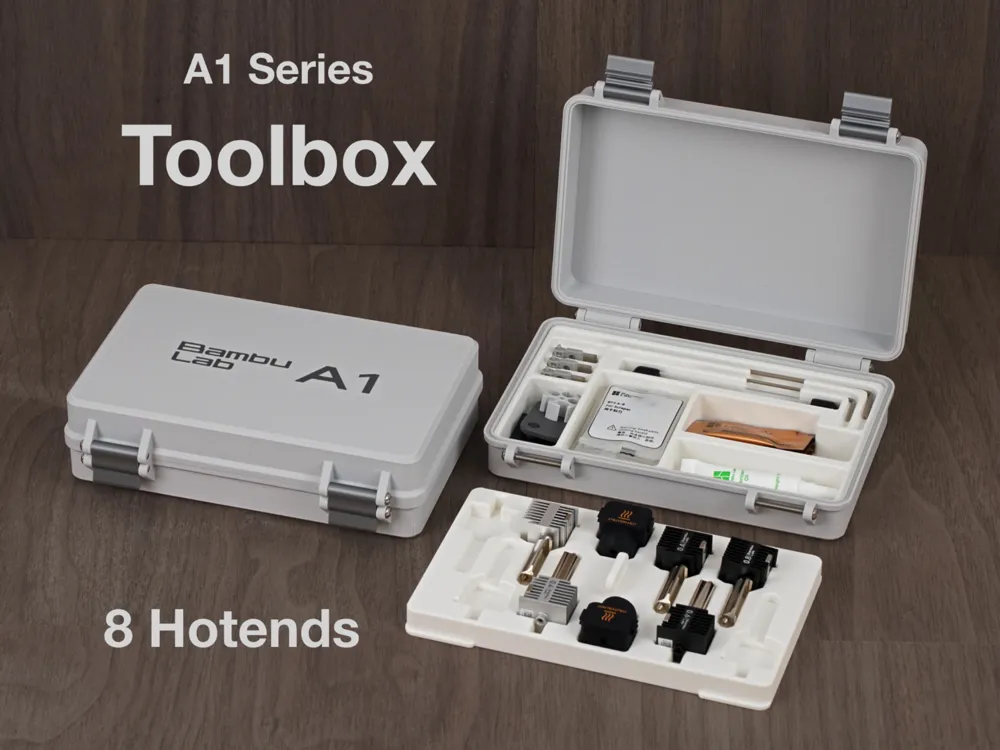
A1 / A1 Mini Toolbox
Every Bambu printer ships with a little pile of tools: hex keys, spare nozzles, the scraper. Within a week they're scattered across the bench. This hinged case corrals the lot, with a tray that holds up to 8 hotends, so spares are sorted and the tool you need is where you last put it rather than wherever you happened to be standing.
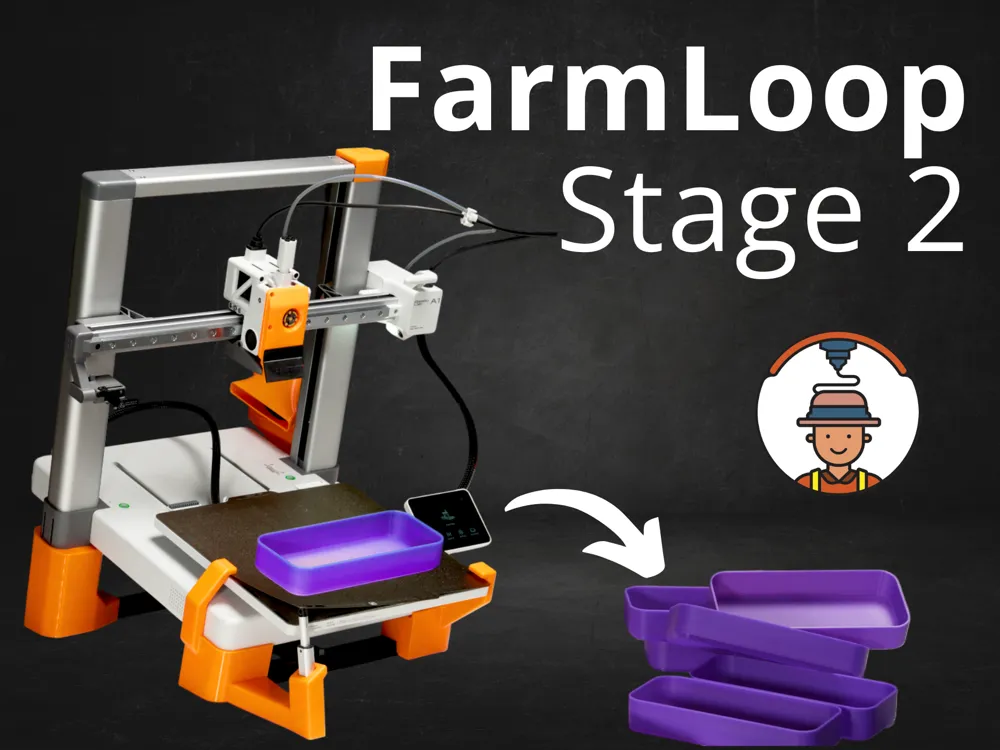 Bonus — for the production-minded
Farmloop: automatic printing
Here's the thing about the A1 series that gets overlooked. Because it's open format, it's the best Bambu platform for production automation, and Farmloop is the best solution we've found: the printer ejects the finished part and starts the next one, unattended, around the clock.
It is not a pure print-and-go, to be clear. Farmloop needs their hardware kit and their G-code generator on top of the printed parts. But if you're printing the same thing repeatedly, and one machine can run overnight without anyone in the room, it is absolutely worth the setup.
Where we're starting
If you print nothing else, print the poop bucket and the cable guide. Together they're under five hours and they fix the two things that will otherwise annoy you daily: mess on the floor and a cable in the wrong place. The clip, the fan cover and the conduit are all under half an hour each, so the small stuff fits into an afternoon. The AMS mount and the drag chain are weekend jobs.
Why we're showing you our print list
Because the same care that goes into setting up a new machine goes into the Tap Bars, Tap Tiles and Tap Snaps we ship. When you order from us, it isn't coming from a faceless factory. It's coming off a well-looked-after bench in someone's home here in Singapore, run by people who care enough to print a holder for their cleaning cloth.
Running the bigger machines instead? We did the same list for those: 9 must-print accessories for the P2S & X2D →
And if you'd rather someone else did the printing, that's literally our job →
All models are free on MakerWorld and belong to their respective creators, so please support them with a like, a boost, or a tip. Print times are approximate and will vary with your settings, filament and nozzle.